
HOW TO CUSTOMIZE A SKI HELMET WITH PINTYPLUS BASIC
The winter is already here and it is time for the snow! Time to equip for winter sports and of course yes, we will ski and play in the snow! In today’s article, we’ll talk about how to customize a ski helmet with your own style giving a step by step presentation. In the example, we have prepared at continuation, our Pintypluser Cristina @creadoporkrispis has changed a woman helmet into a unisex one. The style has been changed by applying other colors using our spray paints.
The two styles are nice, but the truth is that is a good idea to change ‘the face’ of the helmet in the case you would like to surprise someone with a gift or just make it to look like a new one when the old paint has scratches or just maybe you are tired of the old color. We have used for this example, the colors from the BASIC family especially the black color, the orange color, and the grey. As the range is very wide offering lots of colors, using the same technic you can choose other colors and make your own technic. Like we said, lots of colors between the matte and the glossy colors!

The materials we have used are the following:
- 1 Can of spray paint Pintyplus BASIC Black matte RAL 9005
- 1 Can of spray paint Pintyplus BASIC grey
- 1 Can of spray paint Pintyplus BASIC orange RAL 2009
- Varnish, in this case, we have used the matte one Pintyplus BASIC
- Masking tape
1st step. Separate the parts of the helmet.

The first you should try is to separate the elements from the helmet, this way is much easier to paint without any complications and unwanted stains.
2nd step. Clean the pieces that will receive the new layer of paint.
After separating the helmet parts it is better to repair the surface before painting it. With the help of a wiper and alcohol clean very well the surface. If stickers were applied and there are rests of glue, with the alcohol you’ll be able to remove it without problems.

3rd step. It is recommended to apply a base coat first using Pintyplus BASIC Black.

Very important as usual before using the spray paint is to shake the can well as indicated in the instructions on the can and start applying thin layers from a distance of 25-30 cm from the helmet. Apply the layer to cover the whole helmet without insisting only in one spot, keep moving and we recommend to make criss-cross movements(from left to right and from the upper side to lower side), this way the layer will be spread uniformly on the surface.
4th step. Use the masking tape to protect the edges
Leave to dry the paint for 48 hours for perfect results. Using the masking tape, mark different areas where different colors will be applied. In the example we present, we have made a striped pattern.

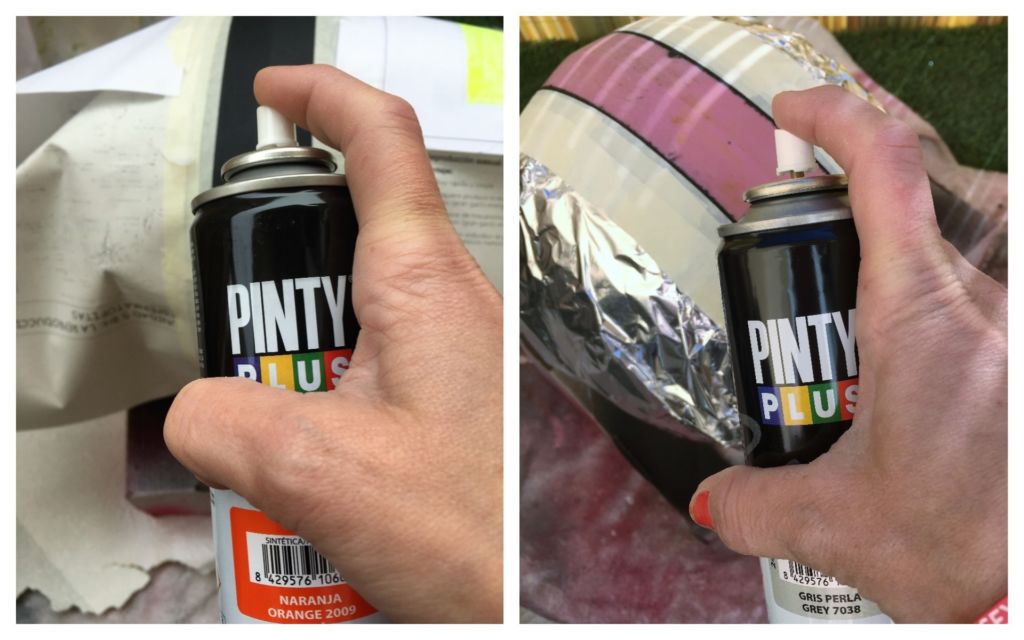
5th step. Paint the marked areas with the Pintyplus BASIC orange and grey colors
Once marked the areas, with the masking tape, protect the rest of the helmet (it was used aluminum foil in this case). At continuation spray the orange colors in one of the marked areas with Pintyplus BASIC Orange. Once dry, protect this area and apply on the following one the Pintyplus BASIC Grey color.
6th step. Apply the varnish for extra protection.
Well, are at the end of this example and the only thing we have to do now is to apply a layer of Pintyplus Varnish Pintytplus BASIC when it is dry the previous layer.

7th step. Use your own customized helmet!
Then, mount the helmet and you will be ready to use on our next snow raid. Let’s enjoy it!
